A beautiful thing about this device is that it is very simple to set up. Just attach the Power and the HDMI Cords and plug the into a Power Strip and the HDMI Port on the TV.
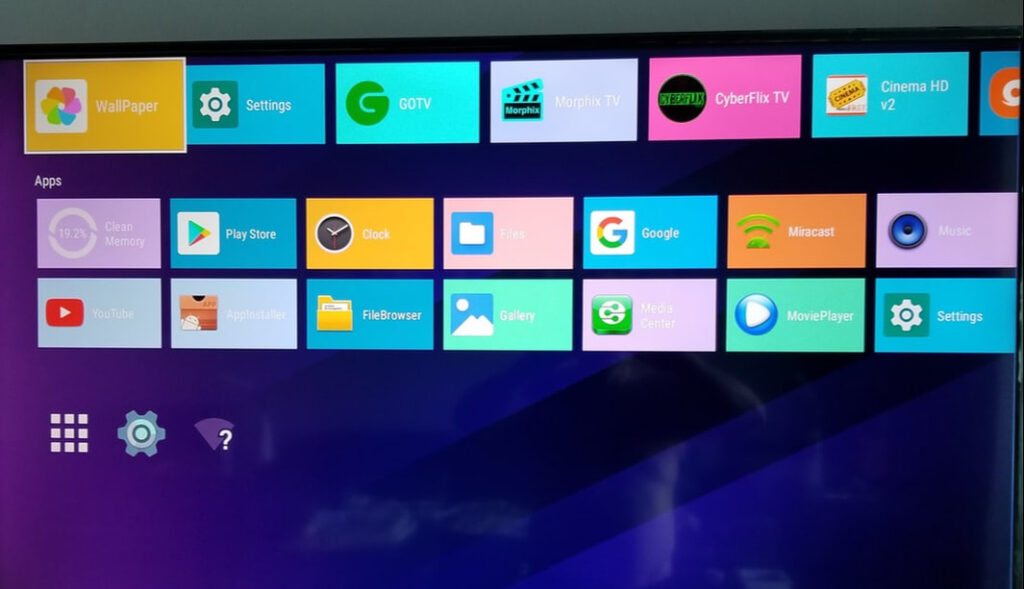
Remove the USB Dongle from the remote and plug it into the USB port on the side of the device, Insert ( 2 )AAA batteries into the remote and proceed to SETTINGS in the lower left corner os the HOME SCREEN.
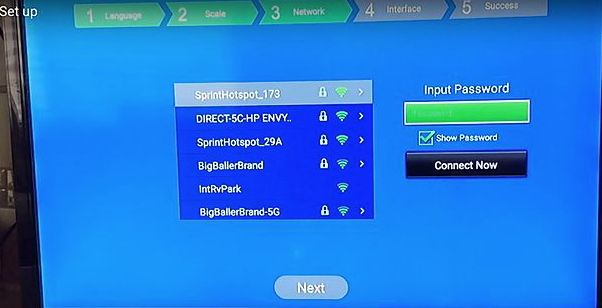
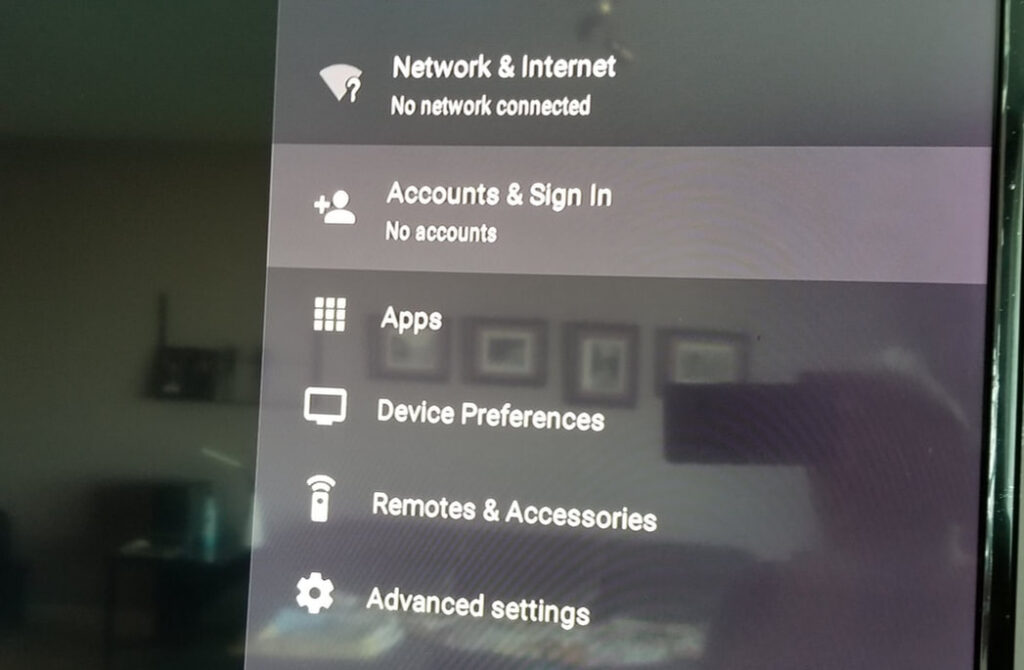
In Settings, you will go to Network and Internet and either Turn On Wi-Fi and follow set up instructions or plug in an ethernet cable.
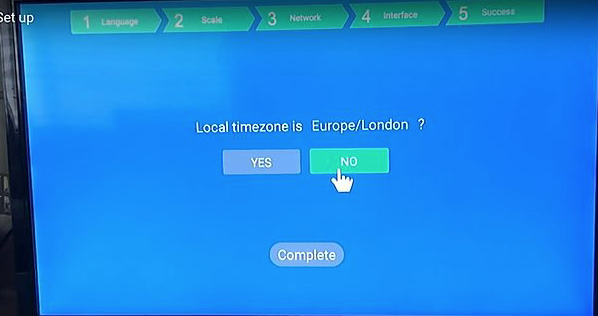
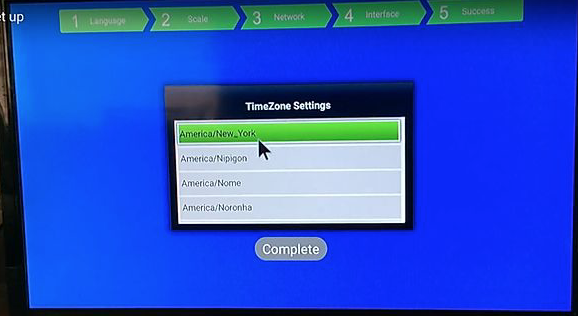
Then go back to Settings and go the DEVICE PREFERENCES and then Date and Time and confirm that you have the correct Date and Time
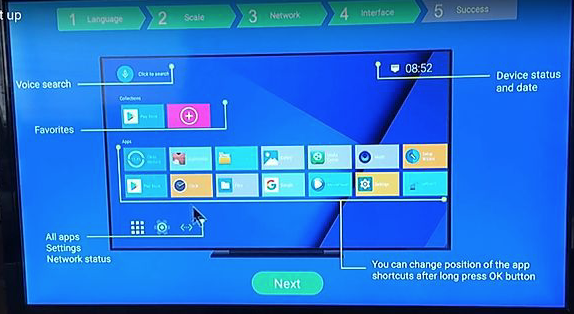
Then while still in Device Preferences go to DISPLAY & SOUND then ADVANCED DISPLAY SETTINGS then SCREEN PERCENT. You will arrive at a blue/green screen with arrows in the center. At the s point you must turn off the cursor on the remote by clicking the Right Button directly under the OK BUTTON. Now by CLICKING THE DOWN ARROW on the bottom of the OK Button you will be making the image on the TV screen shorter. Continue clicking until you have a 1” Black border on Top and Bottom of your TV Screen. NOW do the same with the LEFT ARROW until the image becomes narrower by 1” and you have a 1” black border all around the on-screen image. Click the OK button to lock in your settings and then Click the HOME BUTTON which is directly above the OK Button. ( Looks like a House or an Arrow)
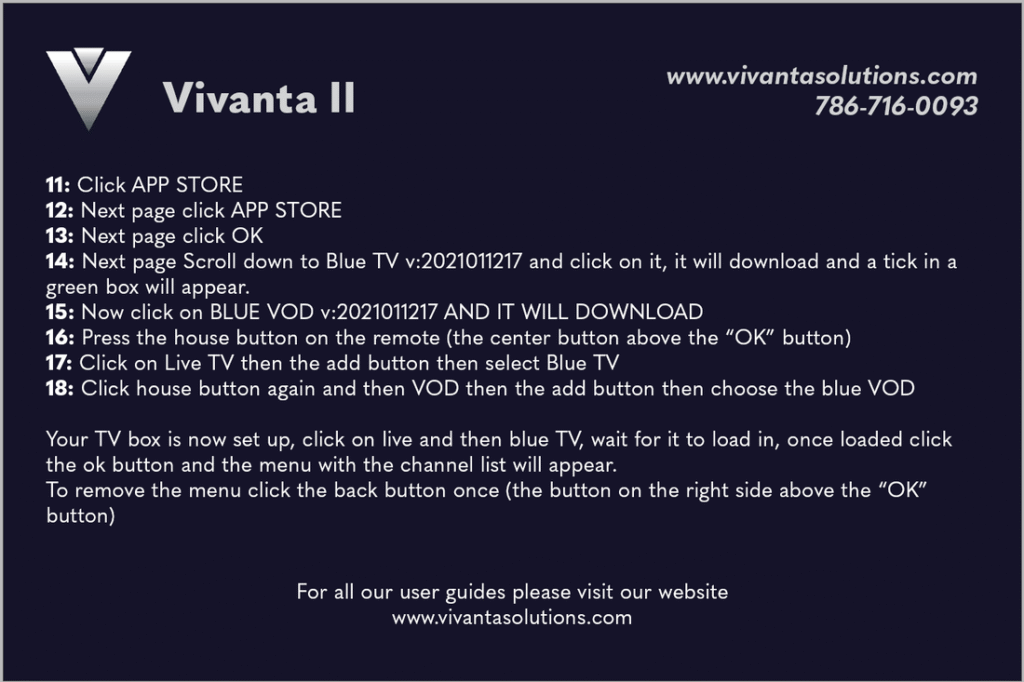
You can use the version that presently appears when when you click Set-Up Guide but it is confusing because it doesn’t appear initially and there are some TYPOS that need correcting
In the Scroll that appears in Set-Up Guide please also add BACKUP TV